

How to Sew Mini Crib Sheets
Posted by Lovely Indeed
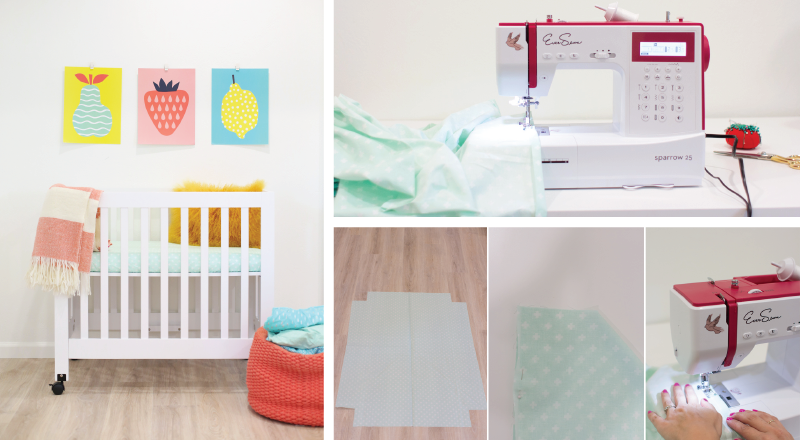


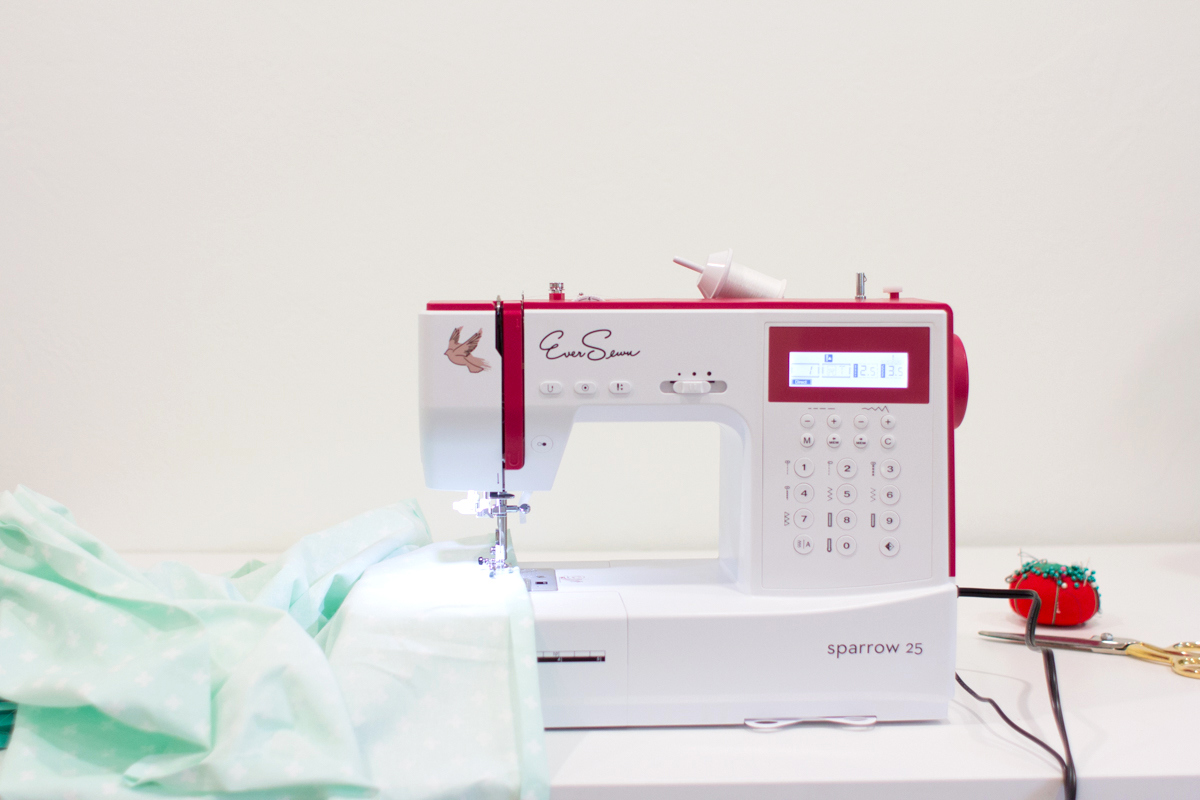
I was so stoked when we found a perfect mini-crib for Baby #2, and then I realized that we needed mini crib sheets. Duh, mom. Turns out mini crib sheets are out there, but they’re all slightly different sizes and there’s just not as much selection when it comes to patterns or fabric. I sewed a bunch of crib sheets for Hank when he was born and just decided to bite the bullet and do the same for Baby Girl! I was actually kind of pumped to do it, because I had just teamed up with EverSewn and got to sew on their fancy schmancy newsewing machine. Hoooooo-boy, this thing makes my old sewing machine feel like cavewoman days. It’s totally intuitive and I set it up in a flash (even though I consider myself a very basic seamstress). It’s simple enough to navigate for little projects like this one, but I’m also planning some more in-depth projects to really test out the fun features it has. If you’re looking for a new machine I can’t recommend this one enough!
But seriously, let’s make my baby some crib sheets.
Materials
- 1.5 yards of fabric
- sewing machine and notions
- 54″ of 1/4″ elastic
- iron
- safety pins
Make Time: 1 Hour per Sheet
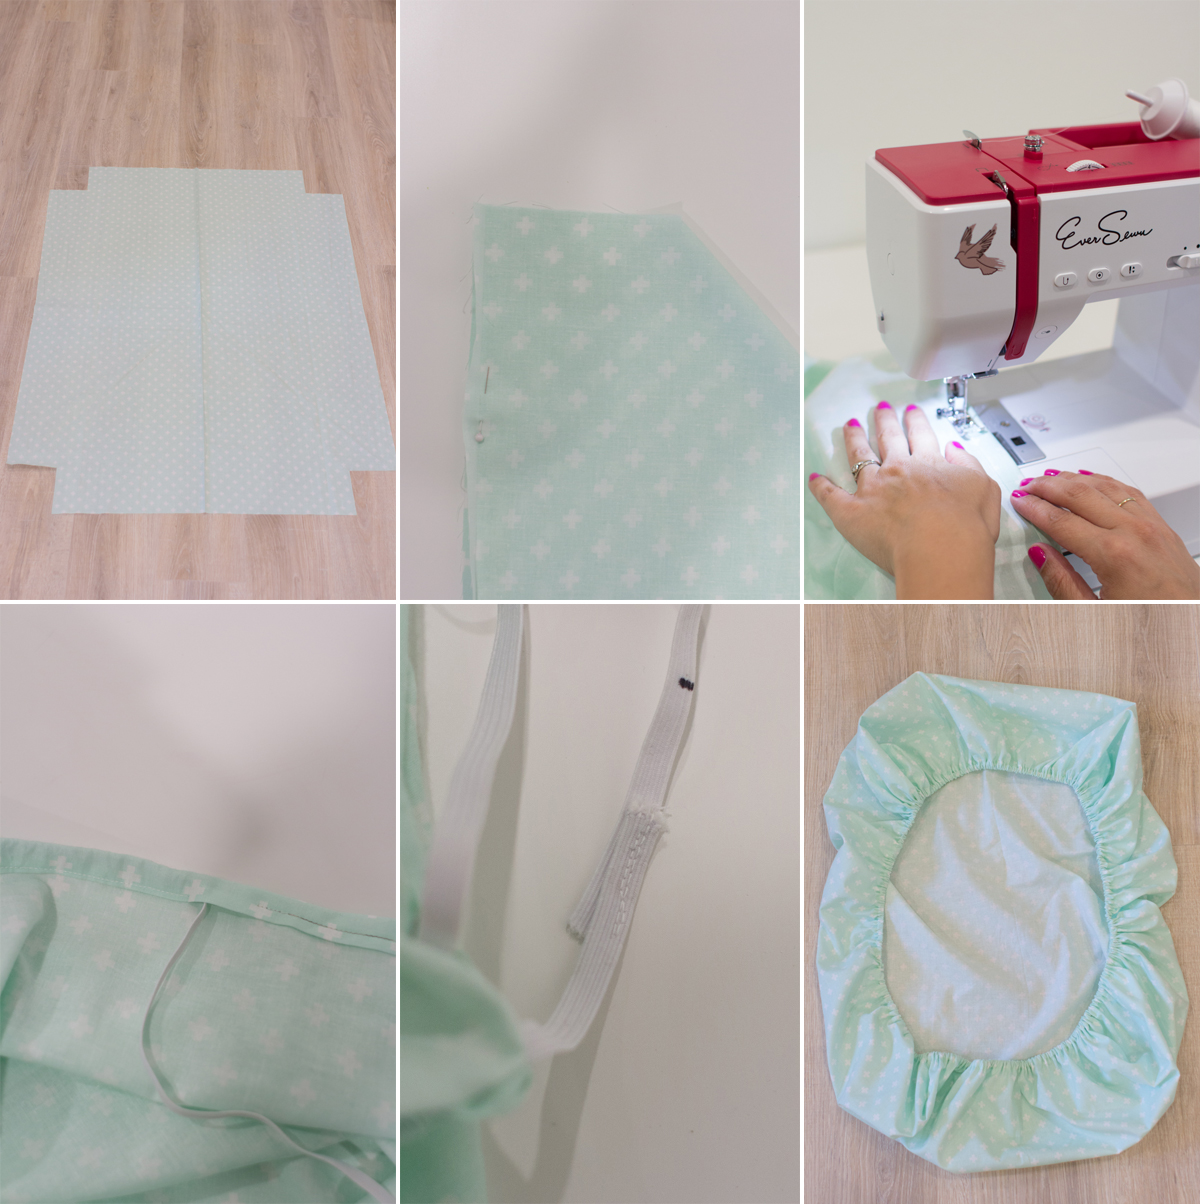
Step 1: Cut your fabric. For a crib mattress that’s about 3-5″ thick, measure the top of the mattress and add 12″ to both the length and width. That’s how large a rectangle you’ll need to cut. Then from each corner, cut out a 4.5″ square.
Step 2: Folding and pinning right sides together on each corner, sew a straight stitch. Leave about a 1/2″ hem.
Step 3: Iron a rolled hem around all edges of the sheet. Fold the edges over 1/4″, and then over again another 1/2″. This hides all raw edges and makes the pocket that will house the elastic. You can fold and pin if you like; I’m more a fly-by-the-seat-of-my-pants gal and I just eyeball, fold, and iron as I go.
Step 4: Start sewing a straight stitch along the ironed hem. You’re going to sew almost all the way around, but leave an opening approximately 3″ wide unsewn. If you need to place a safety pin 3″ ahead of where you started sewing to remind yourself to stop, do that! I’ve been known to accidentally sew right on through.
Step 5: Measure and cut your 54″ inches of elastic. Attach the safety pin to one end. Gather your patience and start feeding the safety pin through the hem, inserting it through the 3″ area that you didn’t sew. Keep bunching the fabric up around the pin and feeding it through, pulling the fabric along the length of the elastic every so often. It’s smart to safety pin the opposite end of the elastic to the other side of the unsewn area on the hem; that way you don’t accidentally pull the elastic all the way through and have to start over.
Step 6: Once you’ve fed the elastic through and have a tail of elastic coming out of either side of your hem, sew the two ends of elastic together. Overlap them by about 1″ and sew a straight stitch back and forth a few times. Then pull the elastic throughout the sheet so that it’s evenly distributed.
Step 7: Finish your sheet by sewing a straight stitch along the 3″ of open hem that you didn’t sew. Be careful not to sew the elastic down with it as well!
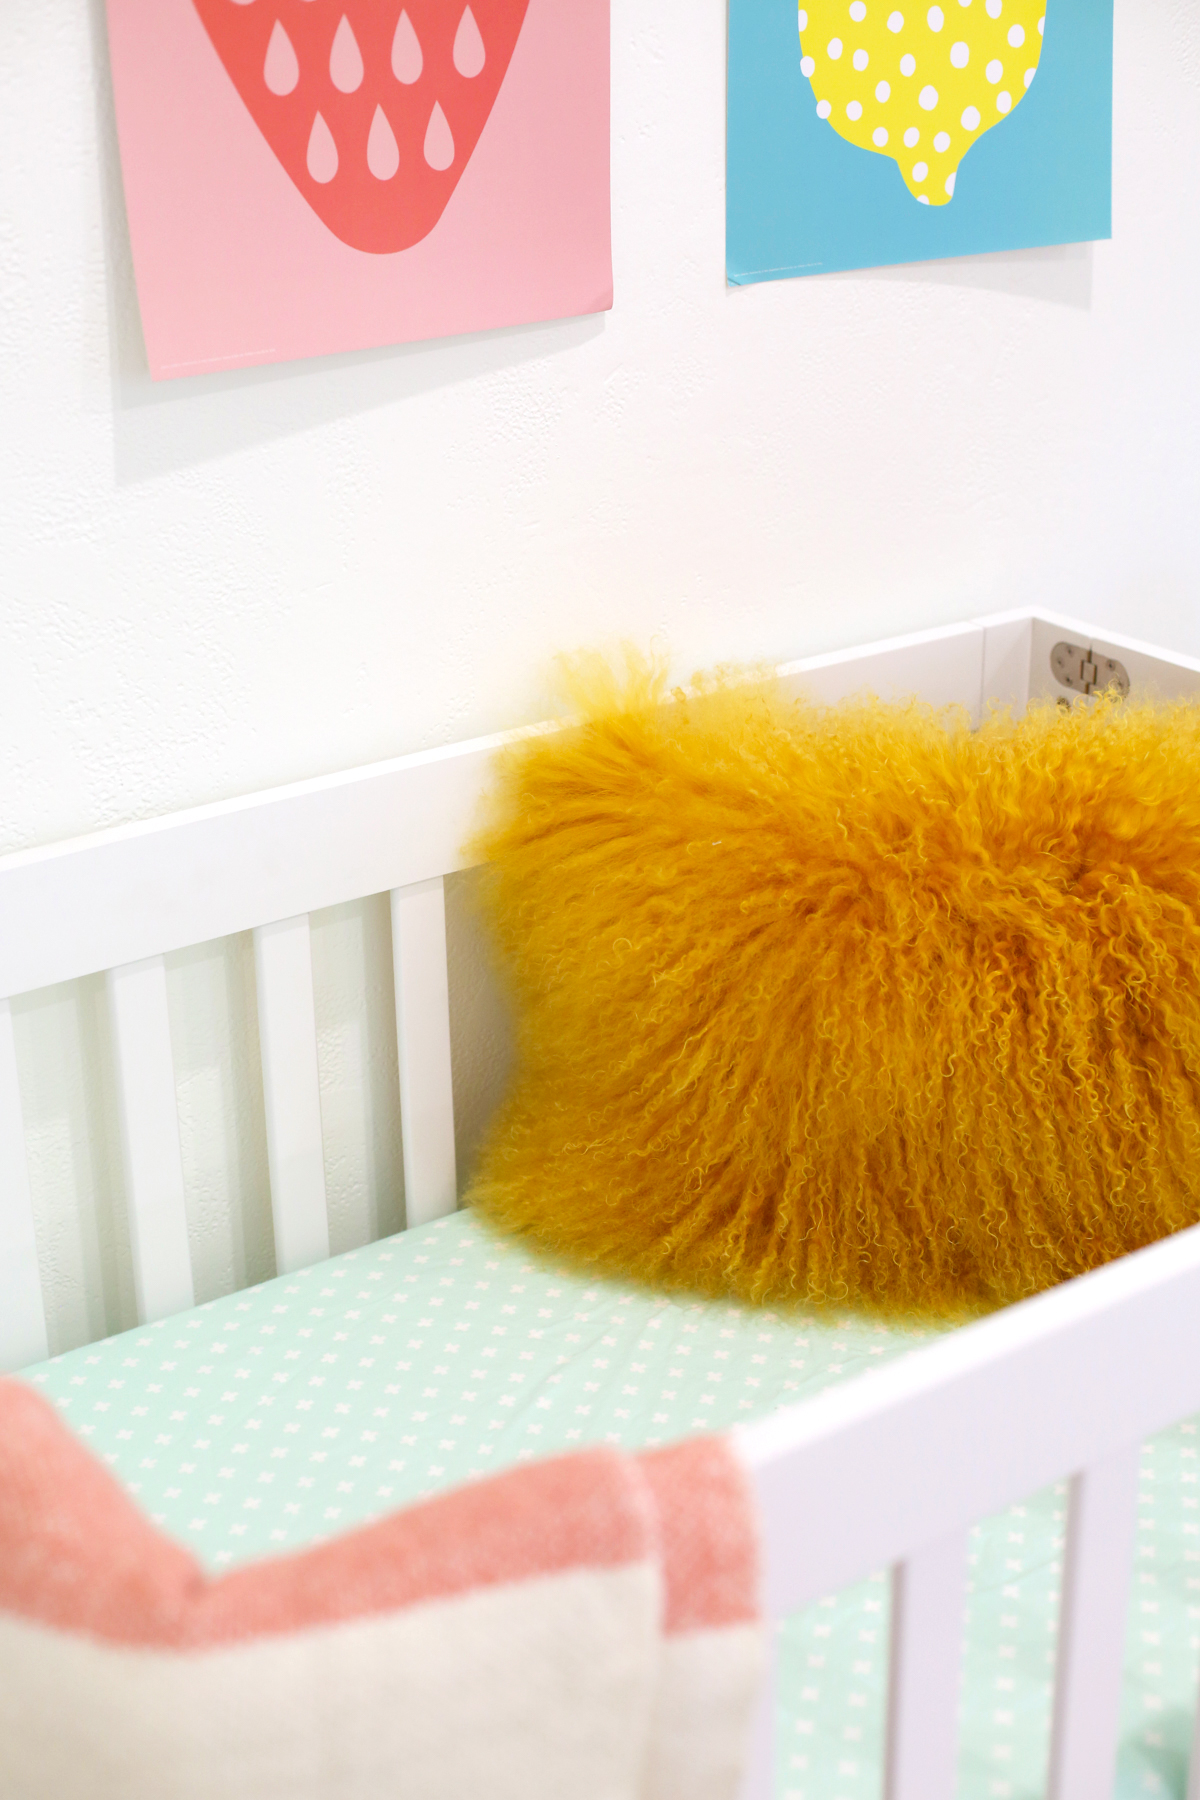
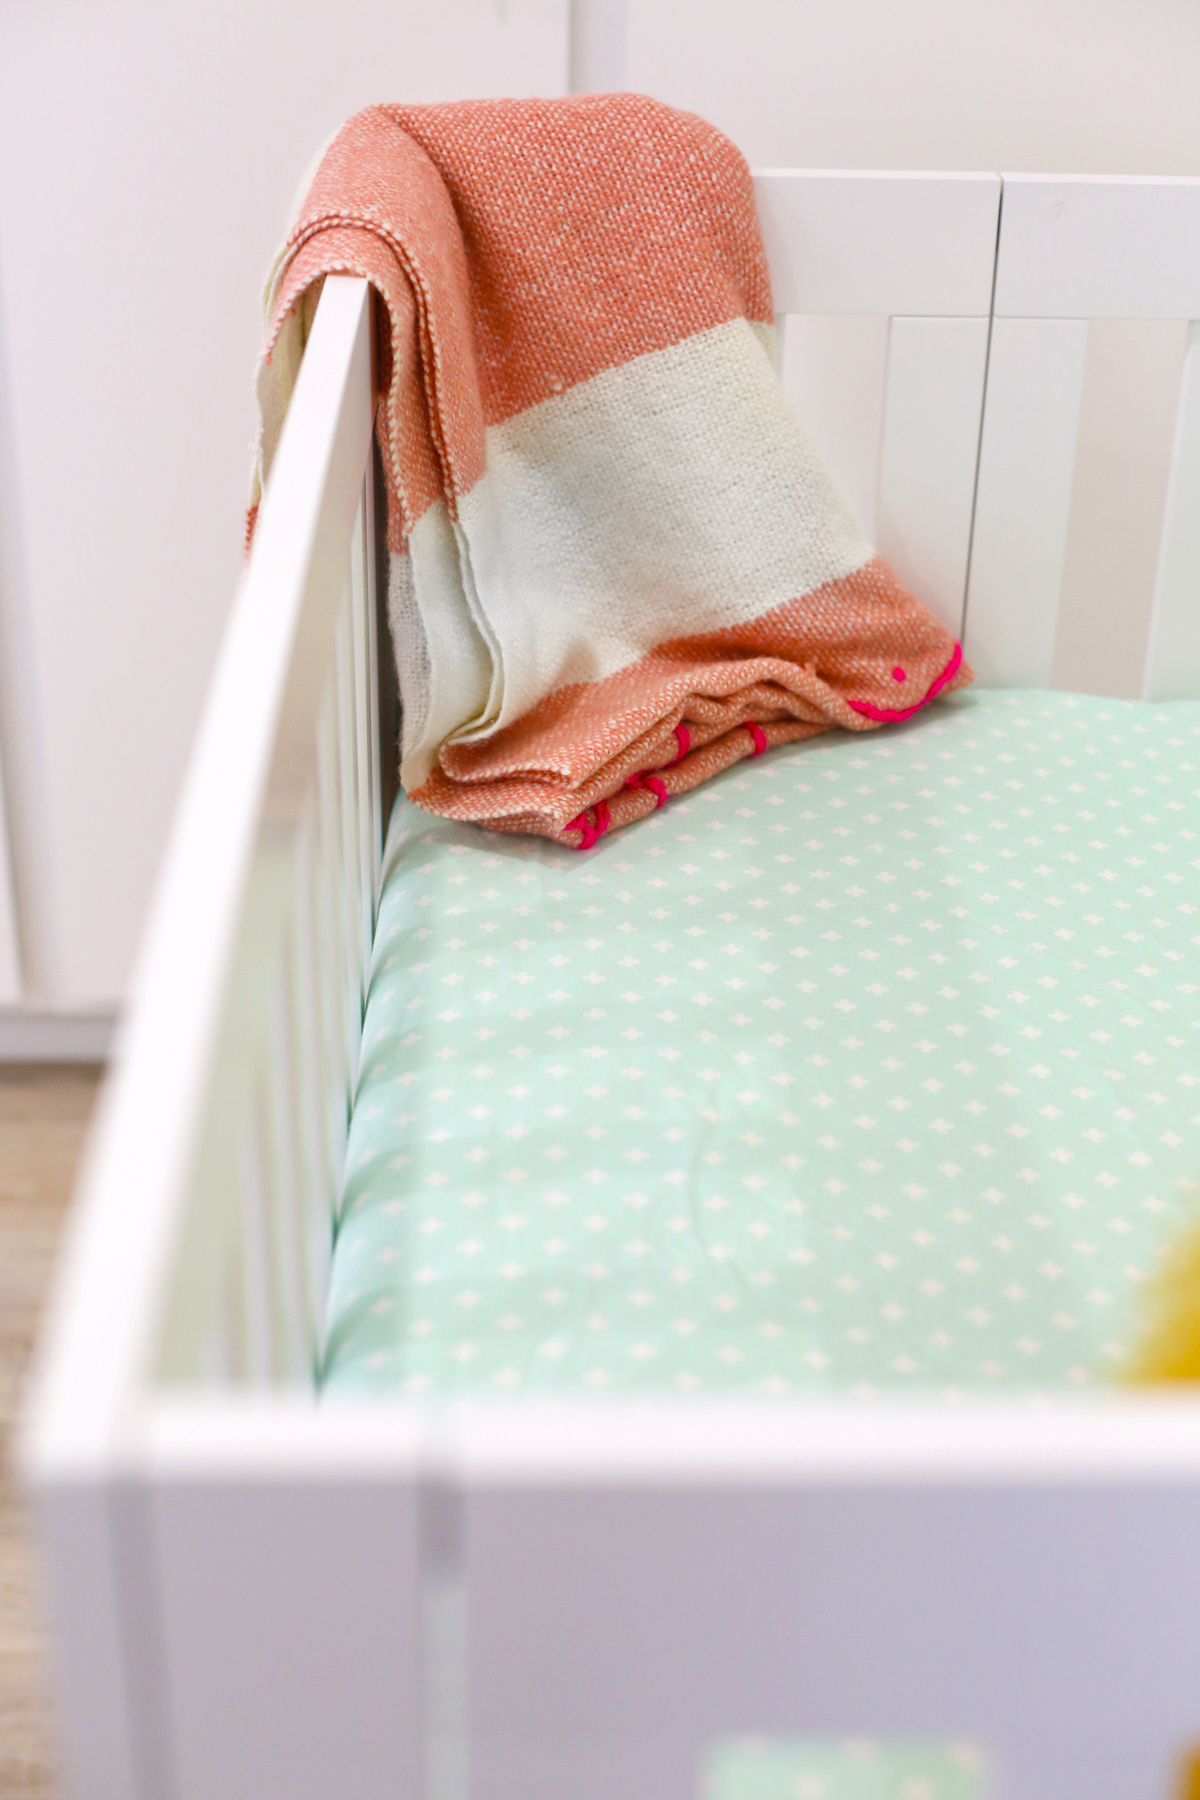
Hooray! Crib sheets, any size you need ’em! I ransacked my local fabric store for all of the minty and aqua patterns I could find, and I can’t wait to show you how they fit in Baby Girl’s nursery. Soon, I promise! In the meantime, stay tuned for more fun sewing projects with EverSewn. xoxo

All photos by Lovely Indeed
This post is sponsored by EverSewn. All ideas and opinions are my own. Thank you for being supportive of the brands who help keep Lovely Indeed rocking!
 Brewer
Reader Comments