

Tuesdays are for Teaching – Kids Sewing Series Day 2
 Welcome back!! We are taking on a few new skills today while teaching my 8 yr old how to navigate a sewing machine. I know last week I promised a tutorial and that Ry would have something to add but it is after all summer vacation and highly unpredictable so I apologize that those things are running a tad behind but you won’t have to wait long, I have on good authority that you’ll see a tutorial tomorrow.
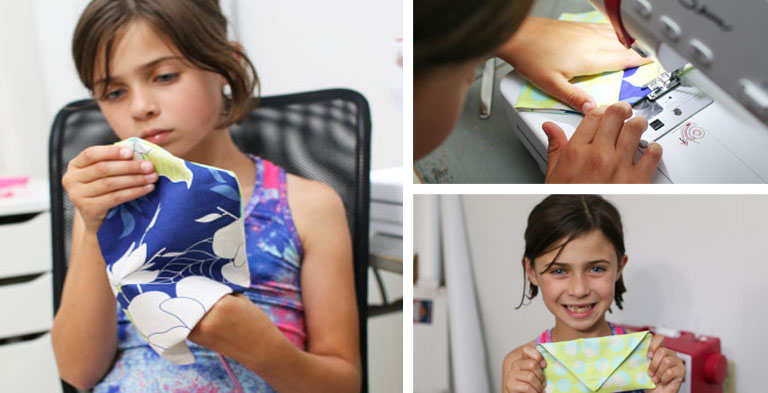
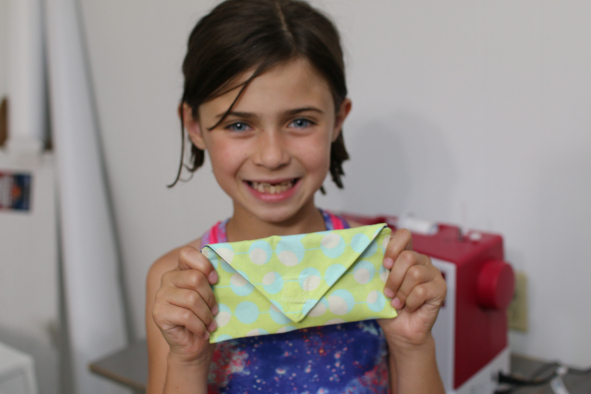
On day 2 of our instruction we worked on a small pouch. Knowing how she learns best, I know that having something she can walk away with will keep her attention more than anything so we picked a small project that would incorporate several of the things I wanted to go over today –
- sewing to connect 2 pieces of fabric and how to keep them together while sewing
- pivoting at corners and points
- turning a project
- ironing
- edge stitching /top stitching
- zig zag stitch
So lets get started… kids and pins. Not the best combination but there are other options to keep your fabric in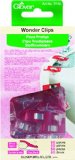 place vs pinning. My personal preference is Wonder Clips* by Clover.
 These aren’t just awesome for kids but are also great for holding pieces together that might be too thick for pins, or with materials such as vinyl or leather that pins will leave holes in.
You can also use Wonder Tape*. We are going to use it later in this lesson when we add the velcro to our pouch but Jenn over at A Jennuine Life talks about using it in place of pins during her Tiny Sewists Series. This is a great follow along series, especially for younger kids.

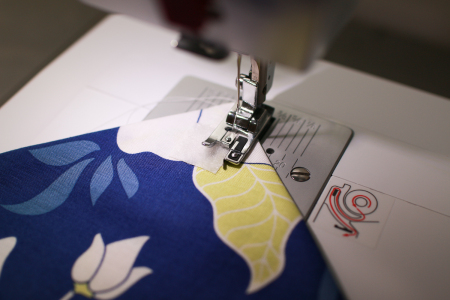
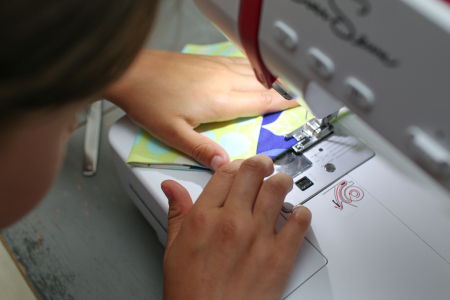
The pouch we are making today is a great way to learn pivoting since it has a few different points to address. There are right angles at the corners but also, the point at the top of the flap, and the also the wider point at the bottom of the flap. To help Ryleigh learn where to stop stitching and pivot I added some dots using an erasable pen. They will be on the inside, so not visible, but its nice to know it can removed if needed. We also mark where to start/stop to leave the opening for turning.

I think the most difficult thing we tackled here is remembering to keep the needle down before lifting the presser foot but once she started remembering that, things went pretty smooth.
We clipped the corners and discussed that we clip those to help reduce the bulk when its turned. Then using a knitting needle, the pouch was turned and she worked the corners out, being careful not to push too hard to avoid going through the fabric.


Ironing…this part made me a little nervous but its something that she needs to know. I kept the steam off for now until she is a little more comfortable and i think that helped her from being afraid of it. She learned to smooth out the fabric first and then iron with slow motions keeping her other hand out of the way. She did an amazing job!
Using the overlock foot that came with the machine, she top stitched the bottom edge that we had left open to turn the pouch. While it may not be the fully intended purpose, it works great for helping line up stitches along the edge of a fabric, and i think really helps instill a little extra confidence.

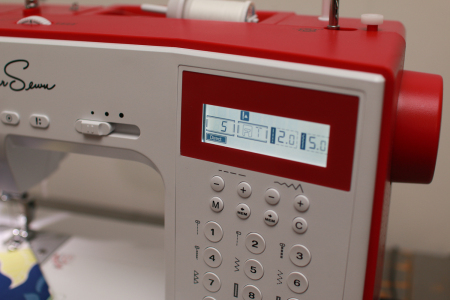
For the closure we went with velcro, this was a great way to introduce the zig zag stitch. Since a straight stitch and zig zag will really work for almost all sewing projects, I’m only focusing on those with her right now. It will be a lot of fun to play with the over 200 decorative stitches on the Sparrow but first we master the basics. This machine is super easy for her to make changes to the stitches. It’s making my job pretty easy
Using the same overlock foot, she carefully went around the velcro like she’s been doing it for years. Definitely impressed me!
Back to a little more top stitching and pivoting to finish up the pouch and she’s done!
She’s so proud of her work, which is honestly the best part of our lessons!!
UPDATE- tutorial now listed here!
*Affiliate links. I am careful to only share links to items we actually love and use. I enjoy sharing my favorites with you all and appreciate your support by clicking on them.
 Brewer
Reader Comments