Categories
Search


Monday
Apr082019

10 Scissors You Should Know About


Scissors are no afterthought in the realm of sewing; the right pair of scissors can take customers to new levels of enjoyment and achievement! The latest sewing scissors can handle a large range of tasks & fabrics and, most importantly, they are more comfortable to use! Below are 10 pairs of scissors covering needs for fabric-cutting, embroidery, multi-purpose use, novelty and more that you should know about:


KAI 7205 8" Shear 

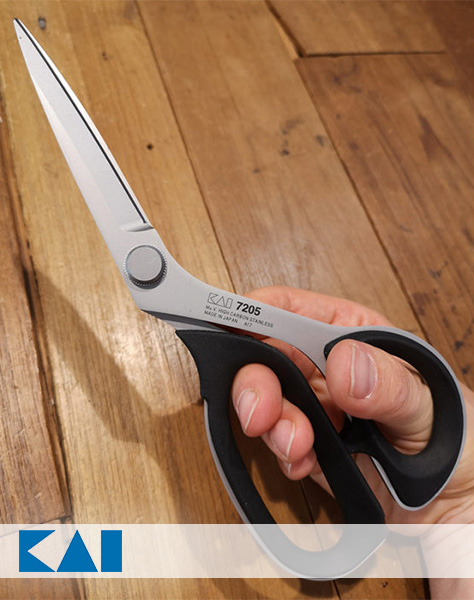
Apparel sewist favorite

The KAI 7205 8" Shear is made from high carbon, hardened stainless steel. The addition of carbon allows for a steeper cutting angle, giving the scissor a sharper, finer edge. Swedish blogger and author, Johanna Lu, says the best way to describe KAI Scissors is “like cutting through butter”.


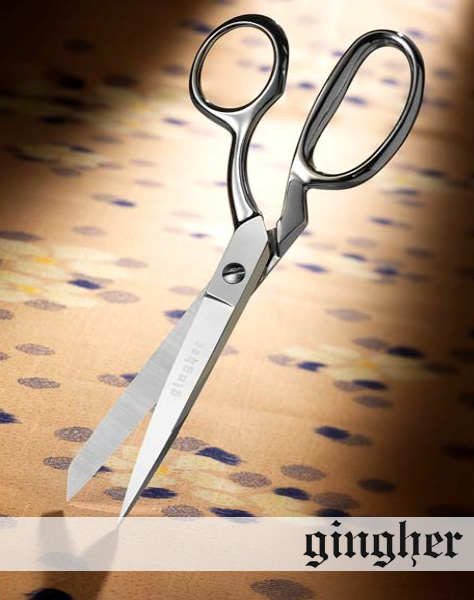
Gingher 8" Knife Edge Bent Trimmers

Fine Italian quality

The knife edge on  Gingher’s 8” Knife Edge Bent Trimmers is incredibly sharp and great to use for cutting layers of fabric. The 200 gram weight of these trimmers is comparably heavier than others on the market, which makes the handle feel better balanced than competing plastic-handled scissors.


Tula Pink 8" Shear

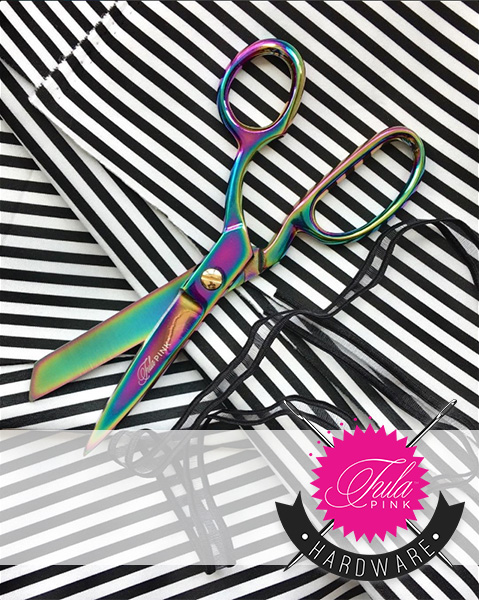
Hand-crafted & fashionable

Customers will absolutely fall in love with the oil slick finish of the 8" Shear by Tula Pink Hardware! It cuts cleanly and adds an unavoidable and unique pop of color to the cutting table. Distributed exclusively by Brewer! Click here to browse the complete Tula Pink Hardware line.


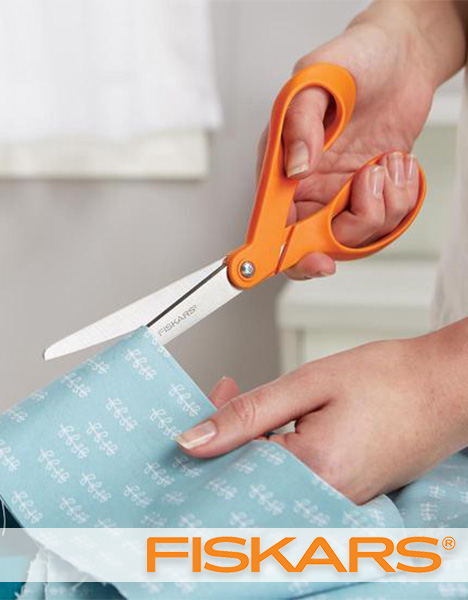
Fiskars Classic No. 8 Bent Scissors

Lifetime guarantee

The iconic orange handle on Fiskars scissors may look familiar from their common use in the classroom, however, the  Fiskars Classic No. 8 Bent Scissor was introduced to the world as a high-quality fabric scissor that redefined the standard for cutting performance! High versatility, durability and ergonomic design maintain these scissors as a fan favorite.


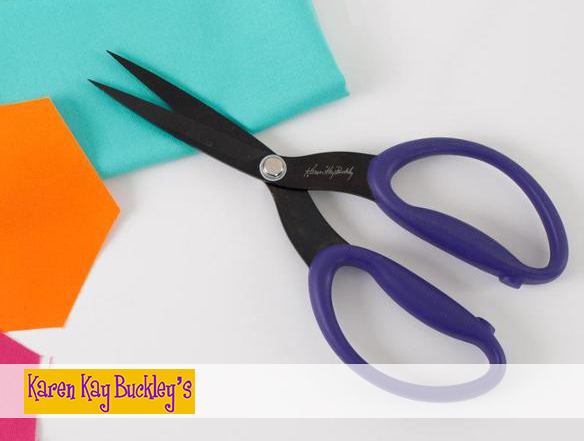
Karen Kay Buckley's Perfect Scissors 7.5"

Sharp to the tip

These are the very best scissors for precision fabric cutting such as appliqué and fussy cutting! The magic lies in the micro-serrated blades; they pull fabric into the scissors rather than allowing the fabric to slither away for a pure cut from the joint of the scissor all the way to the tip. Soft and comfortable handles. Protection sheath included.


OESD Embroidery Scissor Kit

Machine embroidery must-have

The  OESD Embroidery Scissor Kit contains all the scissors needed for machine embroidery! 3" Micro Tweezers, 4" Large Ring Curved Embroidery Scissors, 6" Duckbill Appliqué Scissors, 5" Curved EZ Snip with Micro Serrated Blade and 4" Hoop Appliqué Scissors included, all in a zippered and padded case.
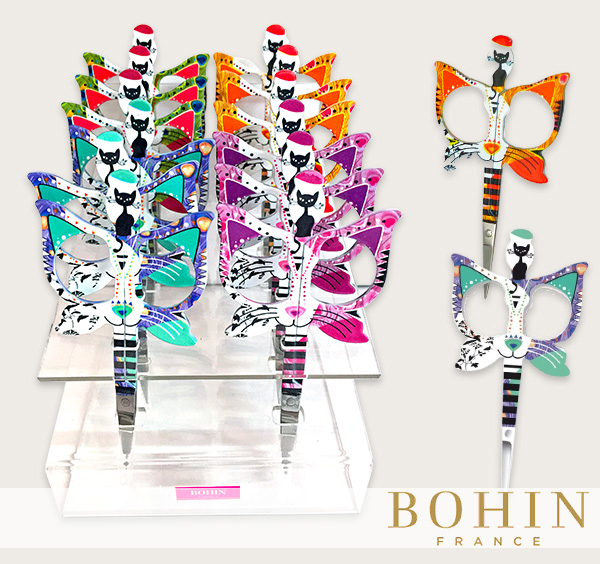
 

Bohin Cats Scissor Display 

Eye-catching design

The colorful, cat-eyed shape of the  3.5" Embroidery Scissor Display, is a sure attention-grabber. 12 scissors in 4 different colors come in the acrylic display. Purrfect!


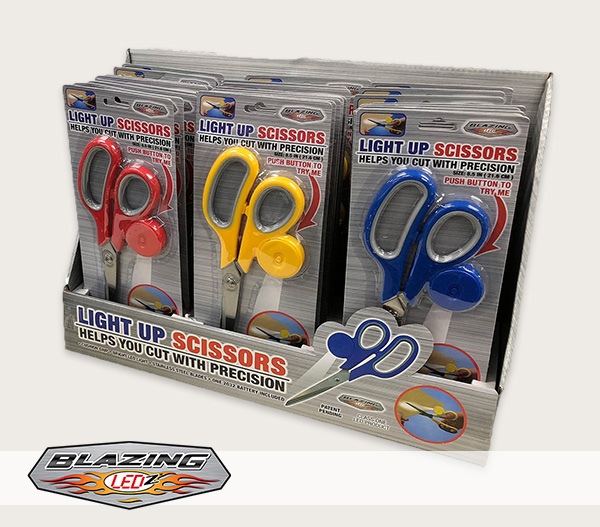
Shawshank LEDz Light-up Scissors Display

Fun, novelty display

Another best-selling POP scissor display is the LED Light-Up Scissors by Shawshank LEDz! A 2032 battery (included) illuminates the cutting path for added precision. 24 scissors in 3 colors come in the display.

Handi Quilter Batting Scissors

 A quilter's must-have

These scissors were specifically made to cut batting. Long blades cut through wide lengths faster and feature a blunt tip so the scissor does not get tangled in batting. Handles are positioned above the blade so that the user's hand barely grazes the top of the batting while cutting, reducing hand-drag.
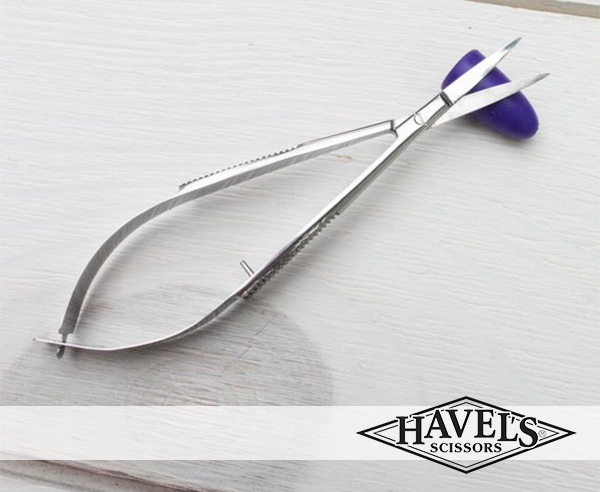
  

 Havel's Snip Eze

Just squeeze to cut

The 4 3/4” “Snip-Eze” Embroidery Scissors are a sewing enthusiast’s must-have tool for snipping threads quickly and cleanly. Lightweight, convenient and easy to use, these snips are perfect for tired or arthritic hands. Curved tips fit under a presser foot! Also available in blunt tip.


Which scissors will make the cut for your store? Click here to browse the scissors featured above on Brewer web. 


Wednesday
Jan302019

Tutorials by Amanda Murphy - Good Measure Rulers


Amanda Murphy's Brewer-Exclusive Good Measure Ruler Line will help you create quilt designs like a pro! Each of the 8 rulers feature a non-skid back with clear 2-color markings.

The full collection includes these rulers: Every Angle, Every Circle, Every Curve, Every Line, Every Feather Spine, Every Feather Plume, Every Clamshell and Every Wave.

In the tutorials below, Amanda uses each ruler and demonstrates how to use the printed markings as reference points to achieve cohesive designs. 


In this first tutorial, Amanda uses the Every Angle Ruler to demonstrate crosshatches: 


The Every Circle Ruler can create pebbles in sashing, scallops, petals and more:


The Every Curve Ruler helps to create even larger curves from 7 to 12 inches: 


Achieve perfectly even lines with the Every Line Ruler


Amanda shows us how to create plumes on straight and curved spines using the Every Feather Spine and Every Plume rulers:


Clamshells are just one of the designs made with the Good Measure Every Clamshell Ruler. Instructions for other designs made with Every Clamshell are included, too!


Create steep or shallow waves with the Every Wave Ruler:


Amanda Murphy's Good Measure line is available exclusively through Brewer! Looking for more template inspiration from Amanda? Check out her Rulerwork Quilting Idea Book!


Friday
Oct192018

Jaybirds Quilts Ruler Video Tutorials

Do you have or want to offer Jaybird Quilts rulers in your shop? Could you use some ruler demo assistance to show your customers how to get the most out of the rulers? There’s a video for that!

Each one of the Jaybird Quilts Rulers in the family of 4 - Hex N More, Mini Hex N More, Sidekick, and Super Sidekick - has a YouTube video tutorial that you can show on a tablet in your shop, or learn from to create your own demo day. You can also share the tutorial link with interested customers so that they can follow along at home each time they use Jaybird Quilts ruler.

With over 50 patterns available that use one or more rulers from the Jaybird Quilts family of rulers, there’s something for every quilter!


Jaybird Quilts Hex N More Ruler Tutorial:


Jaybird Quilts Mini Hex N More Ruler Tutorial:


Jaybird Quilts Sidekick Ruler Tutorial:


Jaybird Quilts Super Sidekick Ruler Tutorial:


Shop all Jaybird Quilts Rulers here!
Tuesday
Aug072018

"Front Porch" by Cherry Guidry of Cherry Blossoms Quilting Studio


Hello, I’m Cherry Guidry of Cherry Blossoms

Quilting Studio and fabric designer for Benartex! 

I am so excited to be back on the BREWER blog 

to share my latest fabric series with you,

Front Porch!

 Front Porch is a fun, vibrant group filled with all things summer… bright blooms, little bees, flip-flops and sun glasses, pinwheels, fruit, even a lemonade stand.


There are twenty-four prints in the collection, including a panel that can be easily sewn into a quilt or could be made into cute pillows for your porch, beach bags, fun coasters, mug rugs… lots of fun possibilities!

I’ve created four coordinating patterns for Front Porch that are perfect for the confident beginner: Bloom, Summer Meadow, Shades, and Summer Porch.


Bloom

Bloom makes a sweet twin size quilt and is a pieced design with easy to applique leaves.

 Shades

 I just couldn’t resist making the large sunglasses! Shades is a quick, easy to applique project that makes a fun throw.


 Summer Meadow

Summer Meadow features the colorful flowers and bees in Front Porch and would be a lovely summer wall hanging.


 Free pattern download - Summer Porch


Summer Porch is the free pattern for the collection featuring Front Porch’s panel and is available as a download-able pattern on my website.


Front Porch is a fun collection perfect for so many projects! These tuffets were made using the Tuffet Source Foundation and Guide. Aren’t they gorgeous?


I hope you will look for Front Porch and make something fun this summer!


Wednesday
Jul182018

Tattoos that even mom will approve of! Vanessa Fromm of Fabric Confetti shares new series, "INKED"!

 Hello! I'm Vanessa Fromm and my company is Fabric Confetti.

I have been designing and digitizing machine embroidery patterns since 2012 and have been affiliated with BREWER since 2014. 

Today I am so excited to share with you my latest design, my INKED - MAKERS QUILT ! Let me take a moment to tell you a little bit about how it came to be!


Over the past few years I have been making appliqué and embroidery pillows for my Mom on special holidays, such as her birthday, Christmas and Mother's Day. I'm always trying to come up with something unique and beautiful to make and became intrigued by one of the latest avenues of art and expression... the tattoo! I had always loved the "Mom" tattoos that people adorn themselves with and found them to be such a testament of one's love for their Mother. So I decided for that particular Mother's Day pillow, the inspiration would be just that!


I posted a picture of Mom's new pillows on my Instagram page and got such a great response. I started to realize that I might be onto something that people were looking for... a way to have tattoos without any fear that they might later regret having them. I was also searching for ways to extend my reach to include a younger market and spark their interest in machine embroidery. And so my INKED series of embroidery and applique tattoos was born!!


Inked - Sewing and Quilting

I asked my daughter's friend Heather Corey, who is an artist and illustrator, if I could commission her to illustrate some "sewing" tattoos for me. She said she'd be happy to help. I digitized three of the designs she illustrated for my first "tattoo" pattern. I wanted to start a series so I came up with the name INKED. The first pattern is called INKED - SEWING AND QUILTING and the pattern contains the designs Born to Sew, Born to Quilt, Measure Twice, Stitch Please and Runs with Scissors.


These original tattoo designs were embroidery only - no appliqué. They work well stitched out on jean jackets, purses, totes, etc. I launched the pattern for them at the 2017 Quilt Market in Houston. To date, they have sold very well.


Inked - Let Them Eat Veggies


After I digitized this first pattern, I commissioned Heather to illustrate tattoos for several other areas of interest. One that was of particular interest to me was vegetables, due to my youngest daughter being vegan. I wanted to enlist some of our overlooked (but important) veggie friends, and present them with a twist. I decided to expand on the 'play on words' approach that I had used in some of the original INKED designs. The pattern is called INKED - LET THEM EAT VEGGIES.


It contains four designs - Let them Eat Kale, Beet of My Heart, Let's Avocuddle and Lettuce Party. Again, these designs are embroidery only and each design comes in three sizes. I released this pattern in Spring 2018. My assistant, Bruce Swinton, spent several weeks making sample purses, bags, totes and aprons using these vegetable designs. They are light-hearted and fun, and always strike up a conversation when people see them.  


Inked - Makers Quilt

Bruce and I discussed making and INKED quilt, and together we came up with all kinds of ideas for sewing and quilting. We wanted to encompass many of the aspects of the art that really spoke to people about their craft. I contacted Heather again and commissioned her to illustrate some new designs. One of my goals with this new design was to incorporate appliqué into the embroidery patterns we would use. Allowing the maker to utilize an unlimited source of fabrics would make the quilt extremely individual and could show so many interpretations.   


We dove right in with excitement. What could be a more exciting project for folks who sew, embroider and craft than a quilt that highlights some of these talents?! Plus, I wanted to use that same, fun 'play on words' for each of the tattoo blocks.


We started stitching out the designs as I digitized them. This presented a challenge and was probably not the best workflow. Why? We got so excited to see these first blocks "in the stitch", that we didn't put quite enough time into fabric color choices for the appliqué. The first blocks stitched were just too color strong and some of the banner ribbons were not the right size. Back up, Try Again, and Get It Right! I believe that is how design works best. "If at first you don't succeed"... well, you know the rest.


Bruce's idea was to use low volume as the backgrounds. To be honest, I was not familiar with the term, but I learned fast. Low volume fabrics read as "light" solids, but also have a subtle secondary print. Use of these prints helps to add texture in areas where you might normally only use a light solid.


The next design decision had to do with the nine patch blocks. Originally, we were going to use red, orange, yellow, turqoise, blue, green, pink, and purple. After we cut up several dozen 2-inch squares in the range of colors we decided it was too vibrant and pulled the eye away from the beautiful embroidered appliqué. We ended up staying with primary colors plus green, turquoise and pink. Bingo!


I laid out the quilt in Adobe Illustrator and we had a model to work from. I finished all the designs and did all the embroidery. I used my Silhouette Cameo to cut out all my appliqué pieces. If you've never used one, I can't stress enough how invaluable they are to one who does any kind of appliqué work. Head over to my website, fabricconfetti.com and go to the "From the Blog" section for a video on the use of the Silhouette Cameo.


Finally came time for the quilting on my long arm. This is one of my favorite parts of the design process because it's like doodling on fabric. I like to use two layers of batting - one wool and one 80/20. I first went through and stitched in the ditch and stitched around the appliqué designs. After that I stitches in all the light areas and then went through and matches the thread to all the different shashing and colors in the 9-patch areas. There were alot of thread changes, but I love the result.   


Lastly, we can't stress highly enough our feelings for starching fabrics for quilt piecing. Especially when you are working with very small components. There is no other step taken that will better assure expert piecing. Starching is also very important for preparing your appliqué. Instructions for starching are included with all my patterns.

Well, I am so excited that Brewer has given me the opportunity to share my INKED series with you. Hope you have as much fun using these designs as we had creating them! Happy embroidery!